A custom mouthguard is the one piece of gear you can make unmistakably yours without touching how it protects you. The outer surface is a blank canvas: colours, a flag, a number, your name, a graphic that means something to you. The trick is designing something that still looks good on a small curved piece of EVA, reads from across the mat or the cage, and passes whatever inspection your sport puts it through. Here is how to get there.
The short answer
The design ideas that hold up are team colours with your number, flag or heritage art, bold combat graphics like fangs or a jaw motif, your name across the front, a high-visibility colour, or a clean single colour. You set the colours in GumGear's 3D customiser as part of the order, upload your own artwork for a $50 add-on, and add custom text for $30. Keep the design on the outer surface and the look takes nothing away from the fit.
Design ideas that actually work
Most “design ideas” galleries online are really product catalogues. Here are the directions that consistently look good once they are moulded onto a real guard, with the reason each one works.
- Team colours and your number. The default for a reason. Match your kit's two main colours, then put your squad number on the front. It ties the guard to the rest of your gear and makes it instantly yours in a shared kit bag.
- Flag and heritage art. A national flag, regional colours, or a heritage motif is the most common walkout look in combat sports because it reads as identity, not decoration. Stick to two or three colours from the flag rather than cramming in every stripe and star.
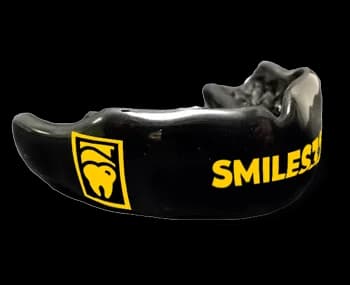
- Bold combat graphics. Fangs, a jaw motif, teeth, a single hard icon. These suit boxing, MMA and Muay Thai because they photograph well on fight night and hold up at a distance. One strong graphic beats three competing ones.
- Name across the front. Your name or a nickname in a clean block is the simplest statement piece there is. It is also the easiest design to keep legible, which is why it is a safe first custom order.
- High-visibility single colour. A bright base in safety orange, neon or electric blue is a design choice and a practical one. Coaches and officials can see at a glance that the guard is in, and it is almost impossible to lose on a mat or in a bag.
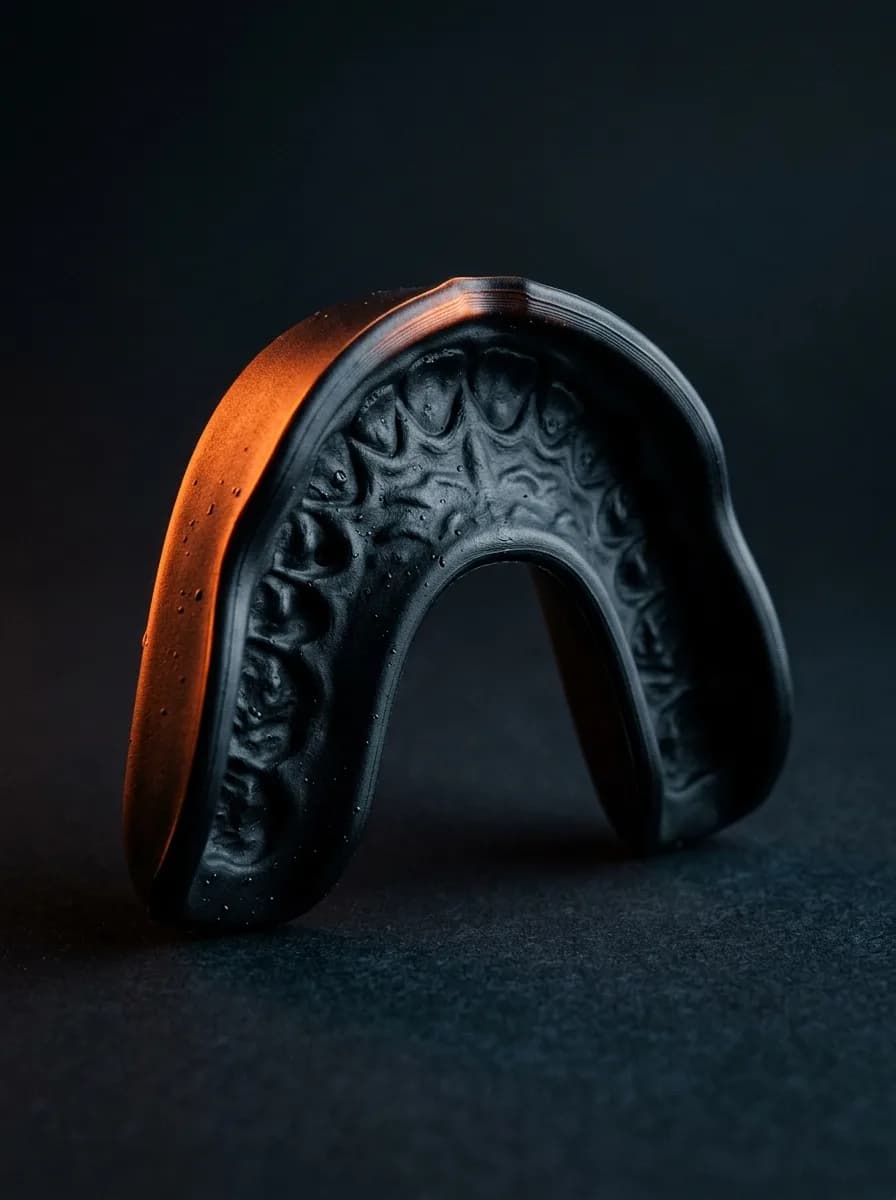
- Clean minimal. One deep colour, no graphic, no text. Understated reads as confident, and it never has an inspection problem. If you are unsure, start here and add on your next guard.
Picking colours that read in play
Colour is where most designs are won or lost, because a mouthguard is small, curved and usually seen in motion. Two ideas carry most of the work. First, contrast. A design with two colours that sit far apart on the colour wheel reads from a distance, while two similar shades blur into one on camera and across the cage. Second, visibility. A bright guard lets a coach or an official confirm it is in without stopping play, and it is far harder to misplace than a clear one.
That does not mean loud is always right. A clear or tooth-coloured guard is deliberately discreet, which some players prefer, and a single deep colour can look sharper than a busy multi-colour build. Pick the contrast level to the effect you want, then check it in the customiser before you commit. Colours behave differently on a curved surface than they do on a flat swatch.
Your artwork, your name, your number
Beyond colours, two add-ons turn a coloured guard into a one-of-one piece. Uploading your own artwork, like a logo, a flag, or a graphic you own the rights to, is a $50 add-on on top of the guard. Adding custom text such as a name or a squad number is a $30 add-on. You can do both, so a fully kitted design is the base guard plus those two.
A note on artwork files: supply the cleanest, highest-contrast version you have. Fine detail and thin lines that look crisp on a screen can disappear once they are scaled down to fit the front of a guard, so simplify before you upload rather than after. If you are not sure a graphic will translate, a bold single-colour version of it almost always will.
What makes a mouthguard design work
The thing that decides most designs is scale. You are designing for a surface a few centimetres across that curves away from the viewer on both sides. Everything that works follows from respecting that:
- One focal point. A number, a name, or a single graphic, not all three at once. Give the eye one thing to land on.
- High contrast between layers. Design elements need to sit clearly against the base colour, or they vanish at distance and on camera.
- Keep detail off the edges. The guard curves and trims at the sides, so anything important wants to live in the centre-front where it stays flat and visible.
- Design for motion. You will be seen with the guard in mid-round, not sitting still in a product photo. If it reads when you glance at the preview, it reads in play.
Designs that pass inspection
A design you cannot wear in competition is a design you did not need. Rules vary a lot by sport and by level, and they change, so the only safe move is to confirm the current ones with your organiser before you order. A couple of examples show the range.
In high-school boys' lacrosse, the mouthguard colour restriction was removed for the 2026 season under NFHS rules, so clear and white guards are now allowed where they were not before, though non-protective attachments are still banned. Combat sports can run the other way, where a promotion or commission may set its own rules on what a guard can look like for a sanctioned bout. The combat specifics, and how to keep a clean fight-week version alongside your training design, are covered in our guide to the best mouthguard for MMA. The practical answer is to design the version you want for training, and order a second, inspection-safe version on the same fit when you have a bout. The impression is already on file, so only the design changes.
Team and gym looks
A shared design is where custom guards earn their keep for a squad. Everyone on one colourway, each guard carrying its own number, is a look no boil-and-bite can match, and it doubles as a way to tell identical gear apart. GumGear takes team and gym orders at a minimum of 10 units, so a full roster or a fight team can run one base design with individual names and numbers on top.
If the goal is purely a going-out or statement look rather than sport protection, that is a different product. The Party Guard, compared with real grillz here is built as a going-out statement piece rather than for team colourways.
How to design yours
The design and the order are the same step. Open the 3D customiser, set your base and accent colours, and rotate the guard to check the look from the front and the sides. If you want your own graphic, add the artwork upload; if you want a name or number, add custom text. When the preview looks right, you order, and the guard is made to the design and to the fit from your own dental impression. If you are still deciding on a guard at all, start with the complete custom mouthguard guide or jump straight to the Sport Guard range, where Contact Guard is $99 and Combat Guard is $169.
If you wear braces
One fit caveat before you get attached to a design. GumGear's at-home impression kit cannot make a braces-compatible guard, because the putty will not release cleanly from around brackets and wires. A braces-compatible fit needs an in-person professional dental scan, so get in touch with us before ordering if you wear braces. The design options are exactly the same once the fit route is sorted. Braces change how the guard is made, not what it can look like.